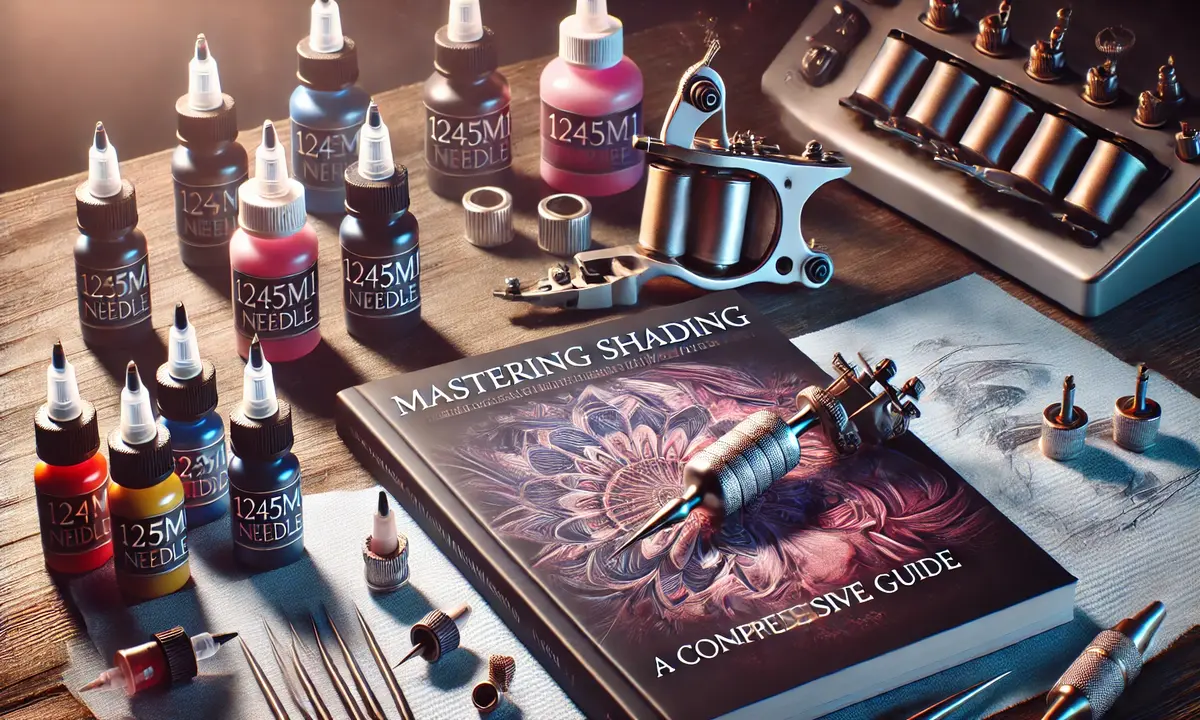
Shading is an essential aspect of tattoo artistry. It transforms simple outlines into dynamic works of art by adding depth and dimension to the design. While many techniques and tools are available, the 1245M1 needle is one of the most popular choices for shading, and for good reason.
Whether you’re a seasoned tattoo artist or just starting out, mastering the art of shading with the right needle can elevate your work significantly.
The 1245M1 needle is designed specifically for shading and is known for its smooth and even results. It’s a magnum-style needle, often used for larger areas where a gradient effect is desired.
With its unique configuration of 12 needles in a flat arrangement, the 1245M1 provides both precision and efficiency, allowing for smooth transitions from light to dark shades without harsh lines.
In this guide, we will dive into everything you need to know about using the 1245M1 needle to master shading techniques.
Let’s get started by understanding the key aspects of the 1245M1 needle and why it’s ideal for shading work.
What is a 1245M1 Needle?
The 1245M1 needle is a type of tattoo needle. It’s a magnum needle used mainly for shading. The “1245” part refers to the needle configuration, which has 12 needles in a flat arrangement.
The “M1” means it’s a single-stack magnum needle, where the needles are stacked closely together. This setup is perfect for larger areas and smooth shading.
Magnum needles like the 1245M1 are excellent for creating smooth gradients and blending colors seamlessly.
They are designed to handle larger sections of skin and deliver even, consistent results. If you want to achieve soft shading without harsh lines, the 1245M1 is an ideal choice.
Why Choose the 1245M1 Needle for Shading?
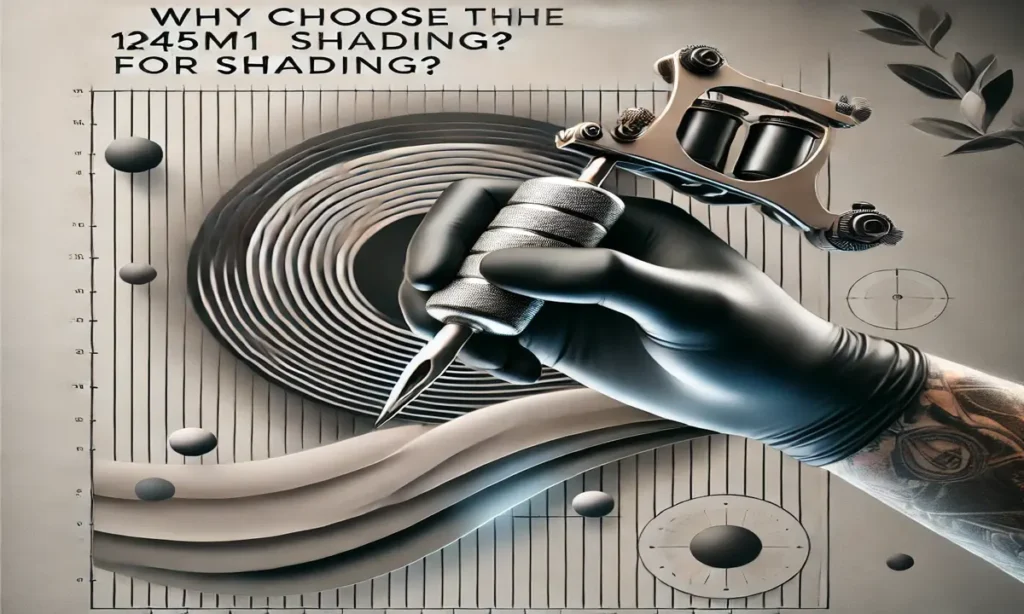
The 1245M1 needle is ideal for shading for several reasons:
- Smooth Blending: Its design allows for smoother transitions between light and dark areas. This makes it easier to blend ink, creating a more natural look.
- Efficient Coverage: This needle can cover a larger area faster than smaller needles. This is useful when filling in big sections without leaving noticeable gaps.
- Reduced Skin Trauma: Because of its design, the 1245M1 needle causes less trauma to the skin. This results in a smoother healing process for your clients.
Choosing the right needle for shading is crucial. The 1245M1 offers the perfect balance of coverage and precision, allowing you to create a beautiful, soft finish.
Also Read: SimplySeven.net
Setting Up for Shading with a 1245M1 Needle
Before you start shading, you need to set up your equipment correctly. Here’s how to prepare:
- Tattoo Machine: Make sure your machine is set up for shading. You need to adjust the voltage lower than what you would use for outlining. Shading needs a gentler touch.
- Ink Selection: Black and gray inks work best for shading. They are perfect for creating gradients and soft transitions. Choose an ink that flows smoothly and settles well on the skin.
- Needle Depth: The 1245M1 needle needs to be set at a shallower depth for soft shading. If the needle goes too deep, you could risk damaging the skin or creating harsh lines.
Step-by-Step Guide to Shading with a 1245M1 Needle
Now that you’ve set up, it’s time to start shading. Follow this step-by-step guide to get the best results.
1. Start with Light Pressure
When you begin shading, it’s important to use light pressure. Unlike outlining, which requires more force, shading is about creating soft transitions.
Light pressure will allow the ink to flow smoothly, preventing harsh lines or excessive trauma to the skin. Start slowly, and build up the shading gradually.
2. Use a Circular Motion
A common technique for shading is using small, circular motions. This motion helps to blend the ink evenly.
It prevents any harsh lines or streaks from appearing. The 1245M1 needle works well with circular motions because of its smooth design, allowing for seamless shading.
3. Layer Gradually for Depth
Shading isn’t about applying a heavy amount of ink at once. To create depth, you should layer the ink. Start with light layers and gradually build them up.
With the 1245M1 needle, you can apply several passes to deepen the shade without leaving uneven patches. This layering technique helps create a smooth, gradient effect.
4. Work from Dark to Light
It’s best to start shading the darkest areas first. This gives you a guide for how to transition to lighter areas.
Working from dark to light ensures that the shading blends more naturally. The 1245M1 needle excels at creating smooth transitions, so this technique will give you the best results.
5. Check Your Speed
Speed is essential when shading. Too fast, and you might leave uneven shading or miss spots. Too slow, and you risk overworking the skin.
Find a comfortable speed that allows you to maintain control while giving you time to adjust your technique as needed.
Tips for Mastering Shading with the 1245M1 Needle
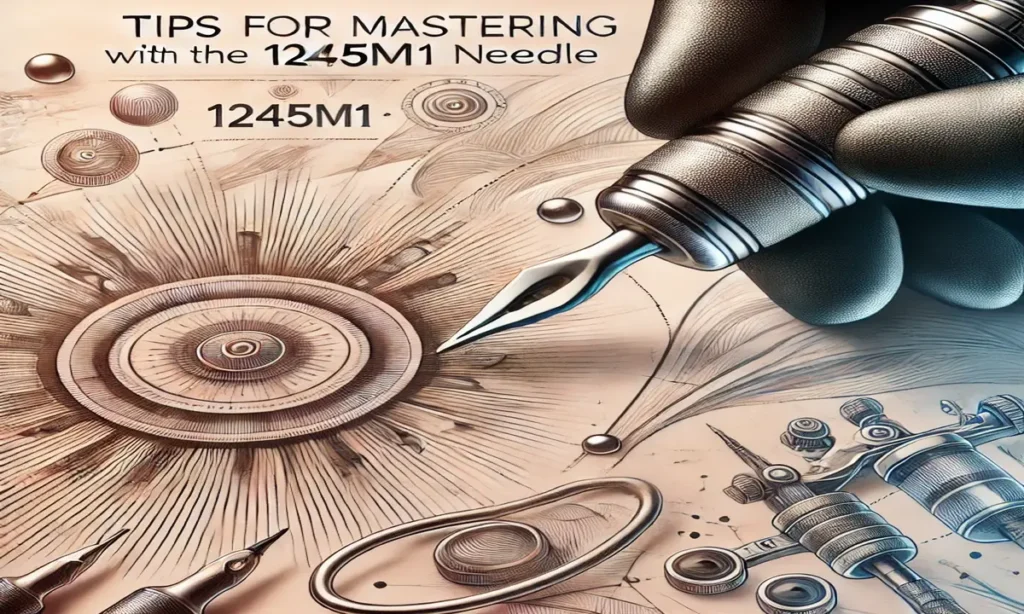
Mastering shading takes time and practice. Here are some tips to help you perfect your technique:
- Practice on Synthetic Skin: If you’re new to shading, practicing on synthetic skin is a great way to get the feel of the 1245M1 needle. It gives you a chance to experiment without causing harm to real skin.
- Consistency is Key: Keep your hand steady and your movements consistent. Shading should be smooth and even, with no jerky or erratic motions.
- Take Your Time: Shading is a process. Don’t rush through it. Take your time to build up the shade gradually for the best effect.
Advantages of Shading with the 1245M1 Needle
Shading with the 1245M1 needle has several advantages:
- Large Area Coverage: The needle’s design allows you to cover large areas efficiently. You can shade an entire section with fewer strokes, which reduces skin irritation.
- Precise Control: Despite being ideal for larger areas, the 1245M1 needle still gives you control over the depth of your shading.
- No Harsh Lines: With proper technique, the 1245M1 needle prevents harsh lines, leaving a smooth finish that looks natural.
Common Mistakes to Avoid
Even experienced tattoo artists can make mistakes while shading. Here are some common errors to watch out for:
- Overworking the Skin: Going over the same area too many times can cause irritation and scarring. Be gentle and avoid excessive passes.
- Incorrect Needle Depth: If the needle is too deep, you risk damaging the skin or causing ink blowouts. Start shallow and adjust as needed.
- Rushing the Process: Shading should be done slowly to ensure smooth blending. Rushing can result in uneven shading or mistakes.
Final Thoughts on Shading with a 1245M1 Needle
The 1245M1 needle is an excellent tool for shading. It allows you to create smooth, even shades with minimal effort.
While mastering shading takes time and practice, using the right technique and tools will make the process easier. The 1245M1 is ideal for creating soft gradients and adding depth to your tattoos. With the right approach, you can achieve stunning results.
Frequently Asked Questions (FAQs)
1. Can beginners use the 1245M1 needle for shading?
Yes, beginners can use the 1245M1 needle, but it’s recommended to practice on synthetic skin before working on real clients.
2. How do I know if my needle depth is correct?
The needle should be set at a shallow depth to allow for smooth shading. If you’re unsure, start shallow and adjust as you go.
3. What ink works best with the 1245M1 needle?
Black and gray inks are most commonly used for shading. They provide the smoothest gradient transitions.
4. Is the 1245M1 needle suitable for color shading?
Yes, the 1245M1 can be used for color shading, but it’s often preferred for black and gray work because of its smooth blending abilities.
5. How do I avoid patchy shading?
To avoid patchy shading, maintain consistent pressure, move your hand smoothly, and layer the ink gradually.